Today we were introduced to the Darkroom processes, I had done Black and white Film printing before but using liquid develper and stop baths as opposed to the automated process we where introduced to today, I found this quite exciting as i'd never developed this way before and found it a much easier and simplified way of printing.

The above image is of my first test strip after I had created a contact sheet. I exposed 5, 10, 15, 20 and 25 seconds at grade 2 and this is the result.
There isn't much in the way of a difference in tone, highlight or shadows so I did another test strip.
This time I repeated the same process 5, 10,15,20 and 25 seconds but opened up the aperture by three stops from F/8 to F/5.6 to allow more light to be emitted.
As you can see there is a difference in each section of the test strip this time when compared to my first test strip.

After I had the test strip sorted I set about creating another test at fifteen seconds as I deemed this to be the best quality for detail.

Once I was happy I spoke to Colin to get his opinion and discussed which grade to go for, so yet another test strip was created this time with Ten seconds, F/7 at grade 0 and Ten seconds, F/7 at grade 2 - this was to darken some of the lighter areas whilst still holding on to the detail.

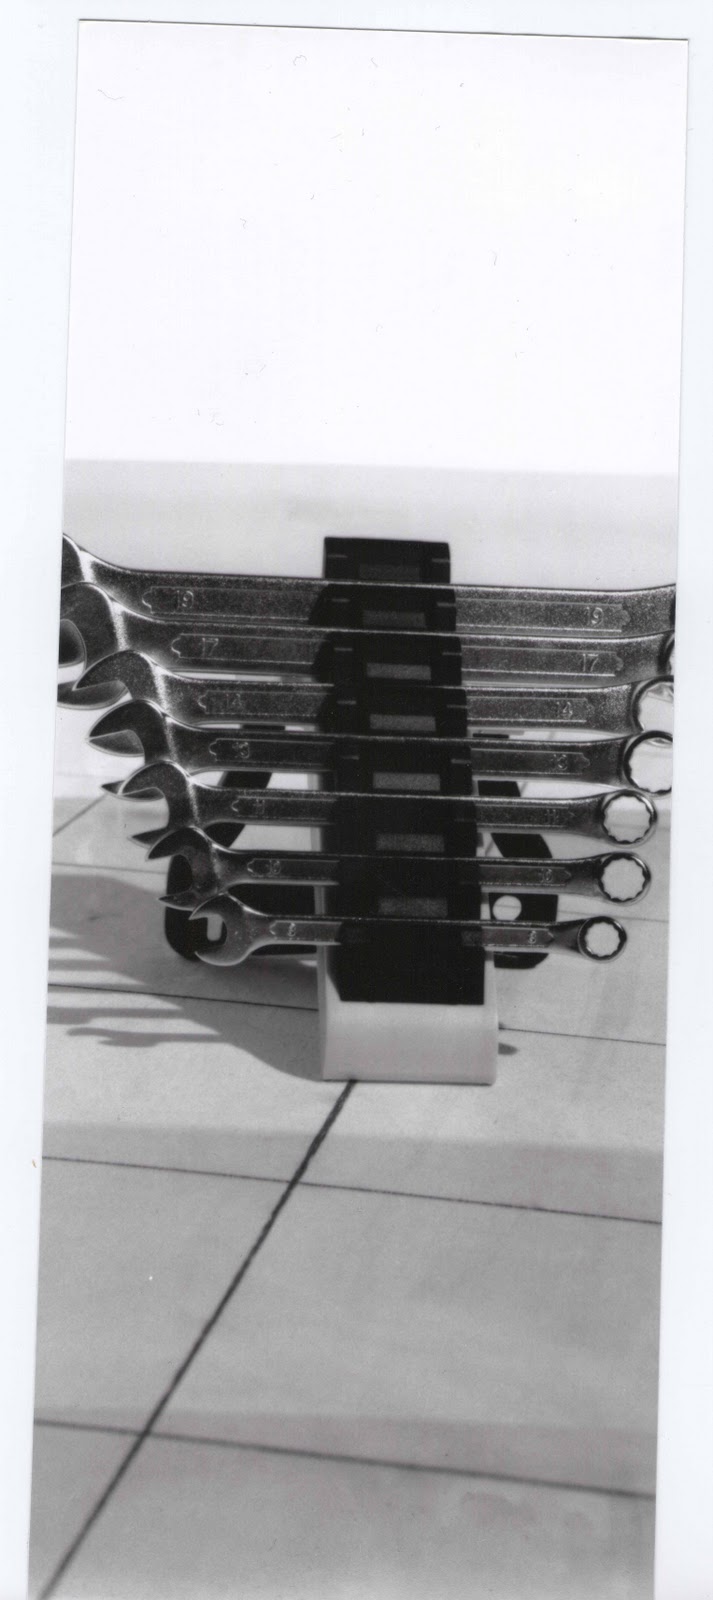
I then repeated the process but with an extra Five seconds, F/7 at grade 5 to give me the final outcome of the image below

Overall I am happy with how it came out and my experience inn the darkroom trying out new things, I can't wait now until I try out a similar process with Colour!
No comments:
Post a Comment